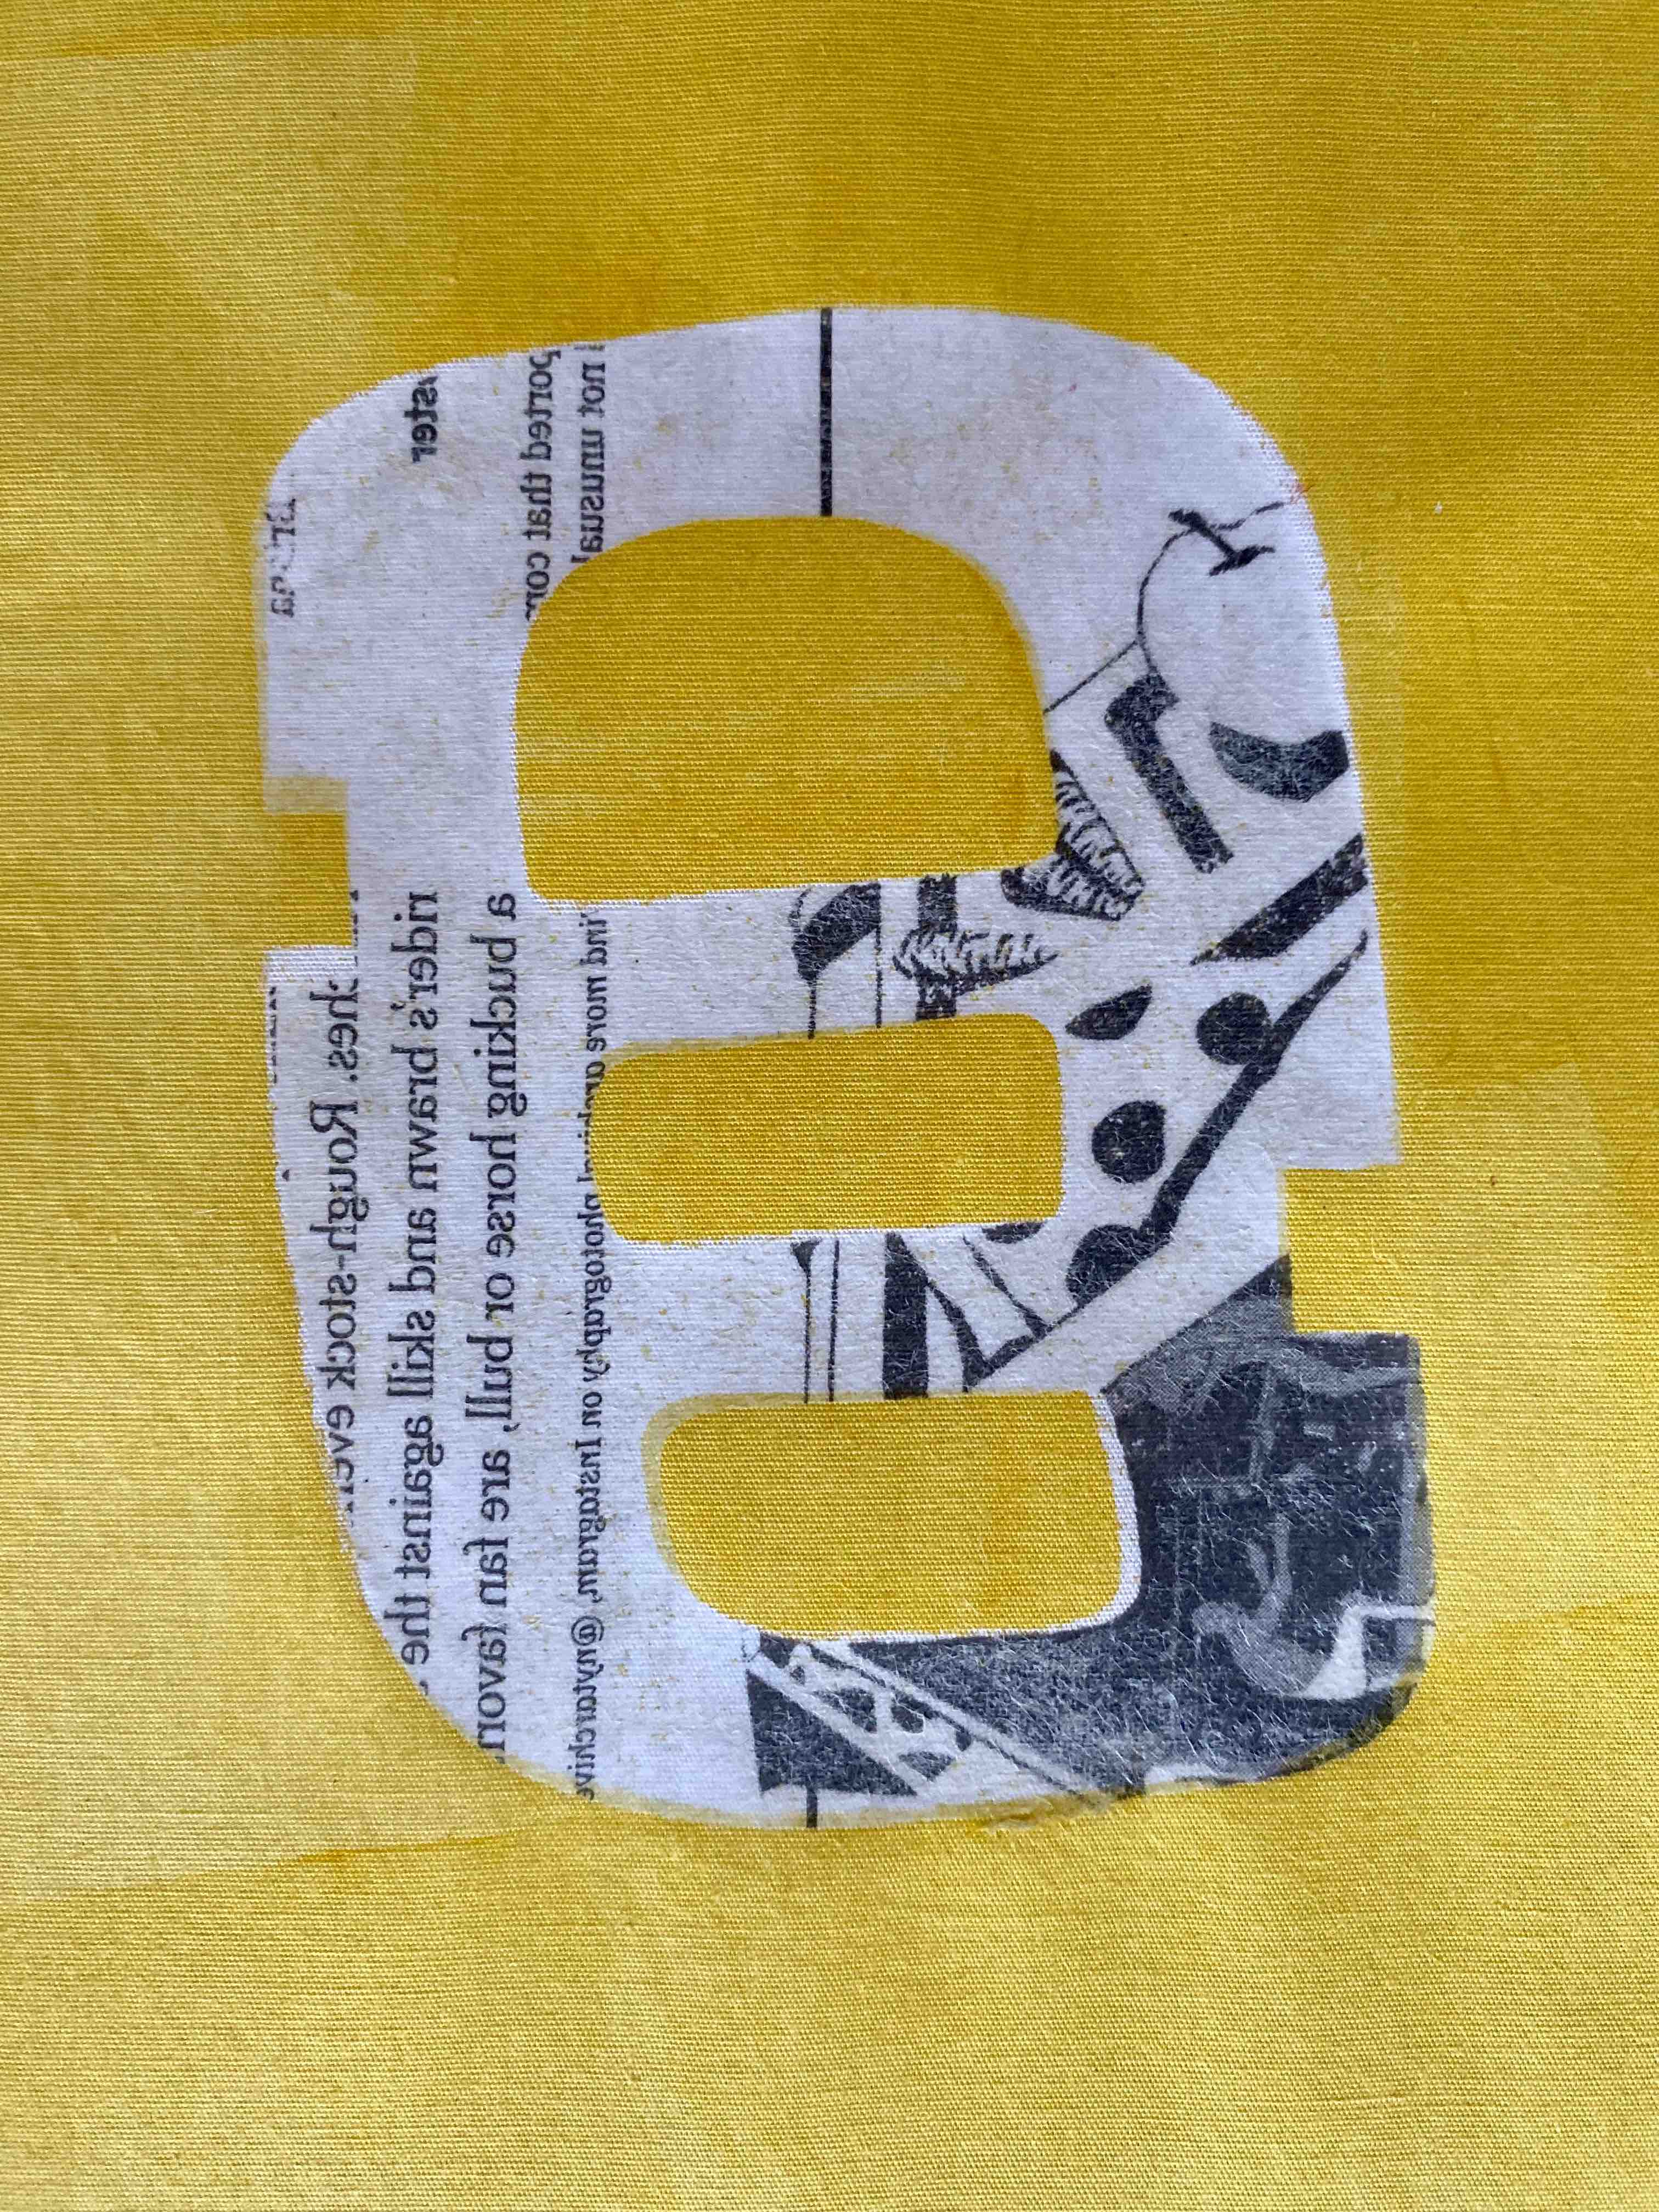
*Washable Paper-Cloth* THE WORKSHOP at Arrowmont School of Arts and Crafts


Let’s recycle paper and create art.


Would you like to learn how to make *washable* paper-cloth with recycled newspapers? This is my original technique to obtain a seamless integration of paper on cloth that you can iron, paint and sew by hand or by machine.
I will be teaching it next year in 2023  at Arrowmont’s School of Arts and Crafts https://www.arrowmont.org/workshops-classes/
It will be held from June 18th to 23rd yup one whole week with me, so you can learn the *nitty gritty* of this technique. The class will be small for only for 10 students. That’s why I am announcing it here, since many of you were interested. You can take advantage of the early registration that opens on December 1st . You can call # 865-436-5860.


What else we will learn?

We will also learn how to create our own fabric paint. It will be formulated for the exact

 color we want. This paint formula can then be used for matching future color project. We will work with our own resist, do repeats and add colored backgrounds. How to cut silkscreens by hand. Then we will learn how to prepare magazine clippings to easily applique by hand on to cloth. The last day we will design a small collage with the paper-cloths we made and sew accented details by hand.


Let me know if you have any questions!

New Article and TIPS on how to use the *Ruler Tape* for hand-quilt and a Beaded Binding


*Dye Transfer Sheets* Part TWO

My latest article is out in Quilting Arts Magazine. This is the second part of the article where I show you how to obtain positive and negative designs with my original technique *Dye Transfer Sheets*.

I love to hand quilt and would like to share some tips that help me with this particular project. 


As you can see, I have white and red-orange backgrounds so I wanted to find a way that I can easily be guided on where to put my hand-stitches. For that I found a wonderful product (I am a very happy customer) called: Ruler Tape

This tape has an adhesive back that is easy removable without leaving any glue residue. And best of all has imperial and metric markings making it ideal for measuring and marking your projects, in this case the quilt shown above.


One of the stitching lines was used to guide the first placement of the ruler tape. After the first line of stitches were applied beside the edge of the tape, the tape was peeled and placed against the new hand sewing line and continued this way. You can use the same piece of tape several times.


Take advantage of the markings to change the distance between stitching lines.


How the *beaded* border was done?


Oh I had so much fun putting the finishing touches to this art quilt! Let me show you step by step.


After the binding is finished, from the back, insert your needle and thread between the binding and backing hiding the knot inside the binding and pulled it out in the middle as show in the photo above.


Insert a bead, make a loop forming a *buttonhole stitch* piercing all the layers just under the binding.


Repeat as shown in the photo until you have the desired length. In the sample quilt the beaded edge was applied in three different areas. I hope you will try and play with all these techniques!


The first part of the article was published on the Fall issue of Quilting Arts magazine. Also I had a second article in the same issue called *Gossip Backgrounds*


In this article, I show you how to easily mark your backgrounds with lettering and liquid paint.

If you want to hear more of my artful adventures I would suggest you to subscribe to my mailing list. 

I am teaching at Arrowmont School of Art and Crafts WASHABLE PAPER - CLOTH

I am linked to: http://www.myquiltinfatuation.com/

Thank you for visiting! 

My work is on the Cover of *Quilting Arts Magazine*


 *Peaks* 34" by 35"

I have exciting news. I have not only a new article for the upcoming issue of Quilting Arts but I also made THE COVER!


I am so happy. I am on page 62 and the title of the article is *Add a POP of Color*. It's a modern twist to the well known half square triangle. It's fun and different.


In this close-up you can see how I quilted with the sewing machine and by hand with big stitches.


This is a variation of this fun technique. You can find more information HERE  

Here is the link of the INTERVIEW I had with Managing Editor Kristine Lundblad.

I am linked to: Off the Wall Friday and Kelly's Blog

*Improv Half-Square Triangle* the Workshop


NEW  Workshop; it's called Improv Half Square Triangle

6 hour or two 3 hours workshop


Let's play with one of the top quilt block units in quilting and make it your own!

With just a few materials you can easily add a POP of color to your quilt blocks. This is an ideal way to use up leftover fabric from other projects and create an entire new quilt. The design possibilities are endless. It’s a perfect technique for working in small spaces.  

We will paint a detail on a white piece of cloth and combine it with a colorful fabric to create our block. Basic instructions will be given and each student can create their own design. Lots of fun!


I hope you can join me and share your time with me doing art!


*Washable Paper-Cloth* the Workshop


NEW  workshop, it's called: Washable Paper-Cloth

It is a Multi day Workshop

Let’s recycle paper and create art. This is an environmentally friendly class. First, we will learn how to make *washable* paper-cloth with recycled newspapers. This is my original technique to obtain a seamless integration of paper on cloth that you can iron, paint and sew by hand or by machine. We will also learn how to create our own fabric paint. It will be formulated for the exact color we want. This paint formula can then be used for matching future color projects . We will work with our own resist, do repeats and add colored backgrounds. Then we will learn how to prepare magazine clippings to easily applique by hand on to cloth. The last day we will design a small collage with the paper-cloths we made and sew accented details by hand.

This is the result of many, many years of experimentation and includes a lot of techniques, such as:

- create your own resist (economically)

- learn how to mix your own fabric paint and how to create your own color formulas which will be an invaluable reference for the future when you want to use the color you choose and not the color that chooses you! This new paint leaves a soft hand on the cloth, making it easier to sew by hand or machine.

- how to do repeats

- we will work with small pieces

- we will be sitting down for part of the processes making it easier to work...ehem play since this is a multi day class.

- we will design a small collage with some of our *new* paper-cloth fabrics.


create your own fabric paint


Left: resisted paper-cloth.      Right: washed resisted paper-cloth


I hope you can join me and share your time with me doing art!

NEW Article in the Magazine *Quilting Arts*


My newest article is out! 

In there I showed you how to *mimic* bleached effects on a painted cloth. It's an unusual way to achieve depth in color without the use of harsh chemicals.


I am on page 66.


Here are some samples of the processed cloth.


The cloth end up so soft that it's very easy to sew by hand. I used Aurifil Wool thread


This is the cover, beautiful art by Betty Busby. You can find more information HERE

I hope you try this new technique. It's lots of fun :)

*Improv* Half-Square Triangle


I have been playing with the well known half square triangle unit. This is one of the top quilt blocks in quilting.

Oh, how much fun it was to modify and stretch the possibilities.

My goal was:

1- Start with a 7 1/2 inch square and form a half square unit and don't add any extra pieces of fabric.

2- Play with the placement of the blocks and be open to the design ideas that develop during this process, doesn't matter if I failed after a few attempts.

4- Settle with the most unusual design (for me) and finish!

This has been a fascinating process. I failed so many times trying to figure out how the improv composition works with only one block - half-square triangle- I learn a lot and I am pleased with the results. I like it so much that I already started another quilt, which I will share in a future post.


This is a close up before it has been quilted.


These are another close ups after it has been quilting. I have decided to quilt it in straight lines. A combination of machine stitching and hand embroidery lines makes this piece sing, don't you think? 

The size is 32" by 33". The binding is not sewn yet but I couldn't resist to share it :)

My quilting group organized a small quilt show in an art gallery to benefit the Women's Exchange in my hometown.

On the photograph you can see only part of the gallery- mine is in the bottom-Everyone did a wonderful job, was a delight to see all the works of art in one room with different styles.

My quilt *Circle flowers* went to a happy home and all the proceeds were donated to the Women's Exchange Organization.

I will be teaching two workshops online in January:

*The Book of secrets*

*Mixed media Graffiti*

I hope you can join me. You can read more about it HERE

You can  Get the details on how to register for these workshops here


My latest Article in *Quilting Arts Magazine*


*Vibrant and Bold* 
My latest article is out in Quilting Arts Magazine Fall 2021. It's in there where I show you how to use Infusible Ink to color polyester sheets.


I am on page 112. It is a neat technique to achieve vibrant colors.

Just recently, after this article was wrote, sadly the company discontinued the production of the light mixed media sheets. Don't despair, I found alternatives, please read below:


for a transparent effect I used this product Light Lutradur


for an opaque effect I used Medium Weight Interfacing

Just followed the same instructions written on the article and you will achieve wonderful bold colors. 

Let me know if you have any questions and I hope you will try this new technique and have as much fun as I did. 
This is the beautiful cover (artwork by Sue King)

NEW Article in the French Magazine *Simply Moderne*


My latest article is out! It has been published in the French magazine SIMPLY MODERNE- ISSUE #25


I am on page 78. It's an easy technique where I show you how to use two wonderful fabrics that you have been saving and didn't know how to incorporated them into a quilt. TIP: you will need an inexpensive wooden hoop and some paint.

I hope you try it and enjoy the process as much as I did.


And this is the beautiful cover. (art by Anne-Marie Saudo)

Related Posts Plugin for WordPress, Blogger...