*Dye Transfer Sheets* Part TWO
My latest article is out in Quilting Arts Magazine. This is the second part of the article where I show you how to obtain positive and negative designs with my original technique *Dye Transfer Sheets*.
I love to hand quilt and would like to share some tips that help me with this particular project.
As you can see, I have white and red-orange backgrounds so I wanted to find a way that I can easily be guided on where to put my hand-stitches. For that I found a wonderful product (I am a very happy customer) called: Ruler Tape
This tape has an adhesive back that is easy removable without leaving any glue residue. And best of all has imperial and metric markings making it ideal for measuring and marking your projects, in this case the quilt shown above.
One of the stitching lines was used to guide the first placement of the ruler tape. After the first line of stitches were applied beside the edge of the tape, the tape was peeled and placed against the new hand sewing line and continued this way. You can use the same piece of tape several times.
Take advantage of the markings to change the distance between stitching lines.
After the binding is finished, from the back, insert your needle and thread between the binding and backing hiding the knot inside the binding and pulled it out in the middle as show in the photo above.
Insert a bead, make a loop forming a *buttonhole stitch* piercing all the layers just under the binding.
Repeat as shown in the photo until you have the desired length. In the sample quilt the beaded edge was applied in three different areas. I hope you will try and play with all these techniques!
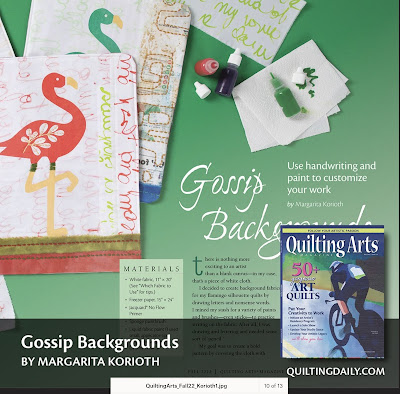
The first part of the article was published on the Fall issue of Quilting Arts magazine. Also I had a second article in the same issue called *Gossip Backgrounds*
If you want to hear more of my artful adventures I would suggest you to subscribe to my mailing list.
I am teaching at Arrowmont School of Art and Crafts WASHABLE PAPER - CLOTH
I am linked to: http://www.myquiltinfatuation.com/
Thank you for visiting!


No comments:
Post a Comment