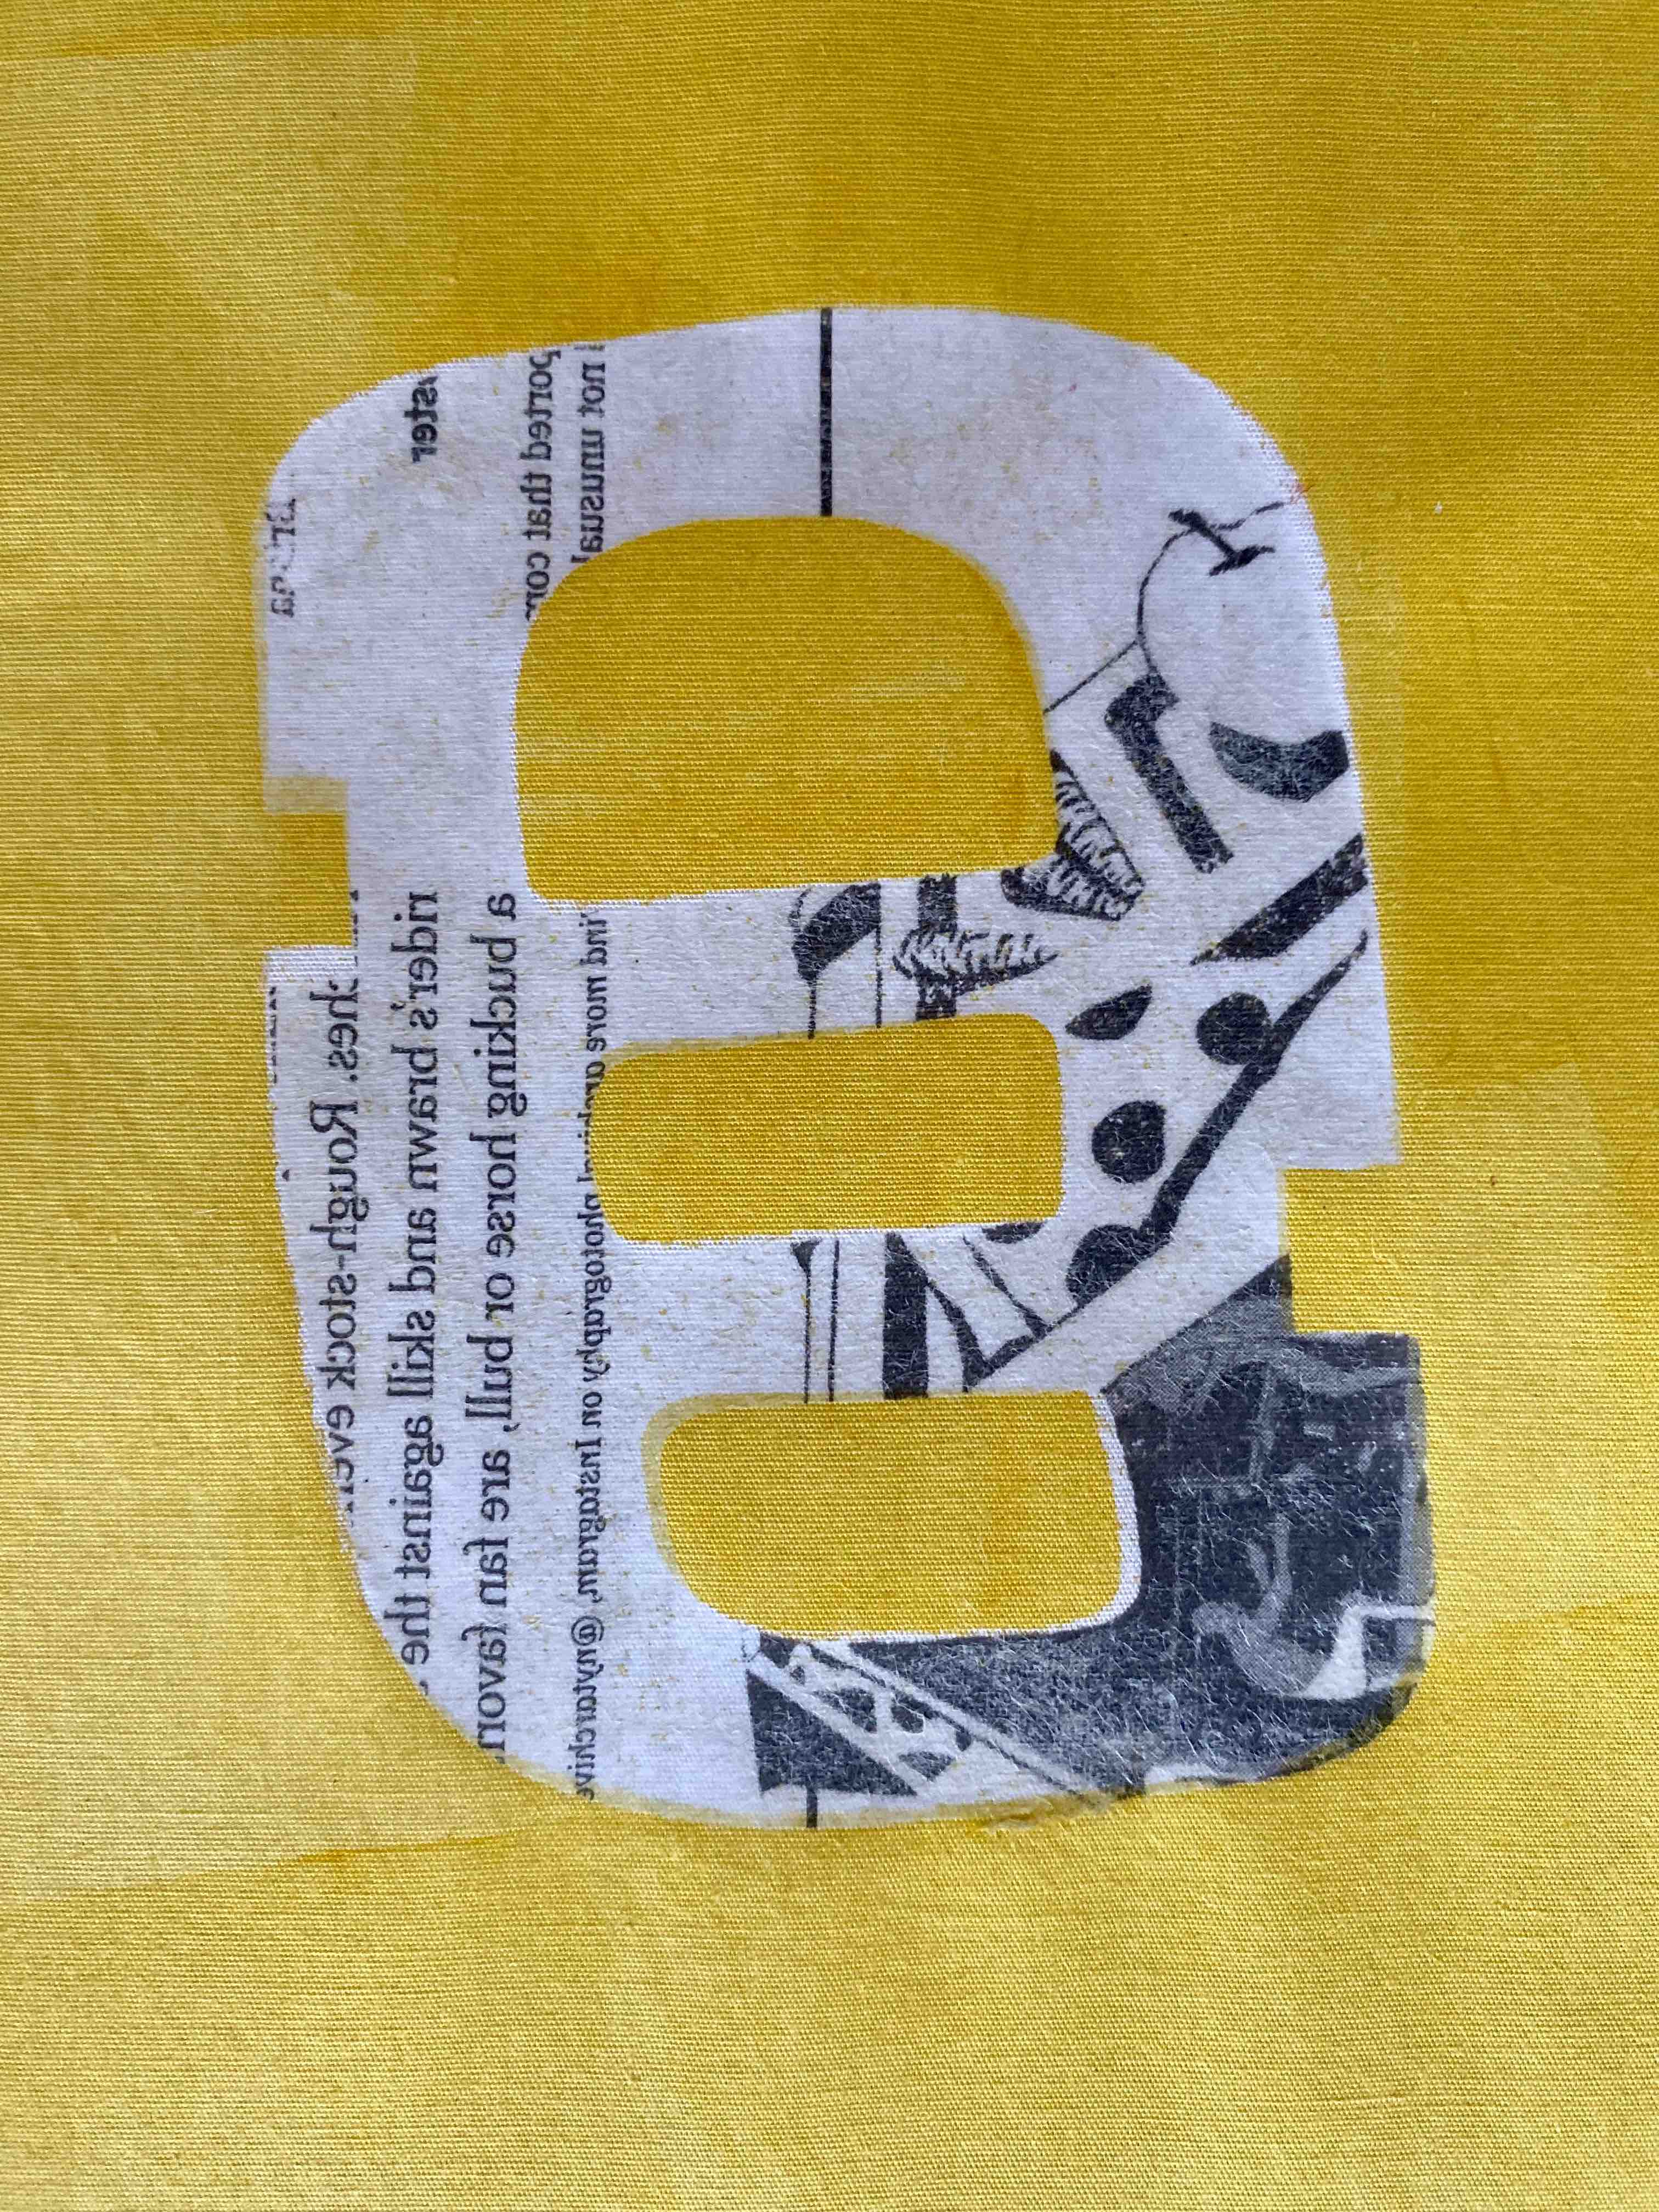
Thread Tension Practice in my HQ Sweet Sixteen Machine

"I love my Plumes"
 
The day I sold my HQ Avanté sewing machine I had mixed feelings, I was sad to let go of such a wonderful machine but at the same time I was glad she was going to a loving house once I met the new owner, a kind Canadian lady.

Some weeks passed and finally I decided to buy an HQ Sweet Sixteen Machine. Once my machine arrived I started to play with it and since I like to change threads constantly I had some difficulty with the tension. No matter what I did, how many times I loosened or tighten the bobbin case, or the spring in the top, I couldn't find the right tension.

Reading Luann's blog she explains how she tried pre-wound bobbins from Bobbin Central which have a *magnetic* ring. I decided to order some and give them a try. It worked!
 
Let me show you what I did:

When I ordered my machine I asked for an extra bobbin case (I always do that with every sewing machine I have, so I can play around). I took out the backlash spring and replaced it with the magna glide pre-wound bobbin. I chose a hot pink color and only use this one for this exercise; what I changed was the upper thread for each feather.
You can see on this sample, I practiced feathers with: LYI 40 weight thread, Signature 40 weight thread, Kingtut 40 weight thread, Sew easy 50 weight thread, Kimono silk 100 weight thread, Lava 30 weight thread and Glide 40 weight thread.
You can see the back side. Once the bobbin thread was balanced it was not difficult to adjust the tension for the upper thread! I was so happy and confident that I decided to start a small project using all these colorful and yummy threads.
With a temporary marker, I marked a design (in this case one of my stencils) on a light colored fabric, sandwiched with batting and a backing fabric.
I chose to work freely without much planning. Once the bird was finished, I quilted the background with glide thread on top.

I am very happy with this discovery! I'm a happy customer :)
I am linked to: http://ninamariesayre.blogspot.com/ Off the Wall Fridays and http://thefreemotionquiltproject Go and see what other artists are doing to enjoy a visual feast!

Hand Embroidery and Beading on Stenciled Fabric

I wanted to make a quilt with a simple shape. I chose the apple since it is my favorite winter fruit. My goal was to work with this shape, do some variations to make it interesting, and at the same time end up with a set of cohesive blocks so I can sew them together to make a quilt!

I started designing stencils in my Silhoutte Cameo Machine. I made five different ones. This is the first one in the series.
Colored plain white muslin with paintsticks. Sew strips of fabric around.
With polyester batting underneath, since I'm planning to do trapunto sew around the shapes with Aurifil 12 weight.
It looked like this when I finished.
Then, I used the same thread to add hand embroidery and seed beads for details. Next time I will show you the next block.
I am linked to: http://ninamariesayre.blogspot.com/ Off the Wall Fridays and http://thefreemotionquiltproject  Go and see what other artists are doing to enjoy a visual feast!

Easy Way to Print Cloth

"Florida Sunrise"
This is another quilt that I've made with the method I explained on page 75 in the latest magazine Crafts'n Things Summer 2013
Instead of a house, I made two flowers for the plate design and used the same bird from the original pattern. I used it as a guide to cut from scrap pieces of fabric fused with wonder under. 
 Next, I sewed them together with a curve seam.
Then I sewed four pieces of fabric around, also with a curve seam.
I ironed on the birds in place. Sandwiched the quilt with batting and a back fabric. Drew "extra" flowers in between the blocks and outside the blocks on each side. Chose a thin 50 weight thread to sew inside the blocks and a thick 12 weight to sew around the outside. I chose a quilting design from Leah www.thefreemotionquiltproject.
Afterwards I sewed beads for the center of the flowers....
..and french knots for the birds eyes.
I am linked to:  http://ninamariesayre.blogspot.com/ Off the Wall Fridays. Go and see what other artists are doing to enjoy a visual feast!


Paper and Fabric Quilt

*Frolicking*
A paper and fabric quilt.

Let me share with you why I'm doing the happy dance!
 
This quilt received two ribbons in the www.browardquiltexpo.com, held last weekend in Fort Lauderdale, Florida for Innovative Design and Judge's Choice.
 
That was a nice surprise since the methods I used are in fact an innovative way to blend paper and fabric. This is the first time I incorporated in the same quilt 4 ways of paper lamination: newsprint on thick cotton (blue background), magazine clippings (black and white appliqué), translucent paper (flowers) and colored prints and newsprint on a transparent layer.
After some machine quilting I did hand embroidery...
...added some beading
and more machine quilting.


Hand Calligraphy with Stencil on Fabric

I wanted to practice hand calligraphy mixed with my own stencil in the same piece.
I started painting a cotton fabric with acrylic paint. I used the small bottles of acrylic paint that you can find in hobby shops. When you use this kind of paint on fabric it can leave a thick layer, making it difficult to sew so you must be careful to put just enough paint.
Next, I drew the word *florero* and painted it with FW acrylic purple ink. When it dried, I took out the stencil I designed and cut and colored with paintsticks.

I hung the small panel and noticed that the word was competing with the vase and flowers. That was not what I was looking for so took the ink out again and painted on top of the letters, but this time with a lighter color.


The edited piece looked like this:
I sandwiched it with batting and a backing fabric. I loaded the sewing machine with Aurifil 12 weight and sewed around the vase, flowers and the word.
Because I love to combine different kind of threads in the same piece, I then changed to a thinner Invisaline thread and stitched the whole background with an easy quilting design.

For the finishing touches I added french knots around each flower.
I am linked to: http://freemotionquilting.blogspot.com and http://ninamariesayre.blogspot.com/ Off the Wall Fridays

Transparent Design

 
"Crimson Bird"
My goal was to paint a transparent design over a busy background.
I started painting a cotton fabric with acrylic paint. I used the small bottles of acrylic paint that you can find in hobby shops. When you use this kind of paint on fabric it can leave a thick layer, making it difficult to sew so you must be careful to put just enough paint.
Took out stencils, in this case stencils I designed and cut and colored with paintsticks. I sandwiched it with batting and a backing fabric. 
Load the sewing machine with Aurifil 12 weight and sew around the bird and plant. I could have left the piece like this but you know how much I like to combine different kinds of threads in the same piece. The texture that is achieved with the combination of different thicknesses of threads makes the piece sing.

I wanted to choose a thread that gives texture but not distraction since the background is colorful enough so I used Invisaline thread on the top and Sew Fine thread in the bobbin. I used an easy stitch design and sewed the whole background slowly. For the finishing touches, I added some beading for the center of the flowers and a french knot for the bird's eye.
Detail 


Design your Own Stencil/ Free Motion Practice.

"Funky Bird"
Playing around with the designer edition of the Silhoutte Cameo machine I came up with this bird design. Instead of making my own drawing and scanning it, I used the free form tools that come with the program. I call it Funky Bird and made a stencil out of it.
Took out a piece of fabric, silk screened it with the word *Happiness* in different languages, let it dry, put the stencil on top and colored it with paint sticks.
I enjoy working with this kind of paint since you can easily control the amount of color you want. In this case I put just enough color not to obliterate the words, which are an important part of the design. If you have been reading my blog you must know by now how much I love to work with lettering.
Next, I ironed the fabric to set the paint, sandwiched  it with batting and a backing and started to do free motion quilting.  I used some of Leah's quilting designs http://freemotionquilting.blogspot.com. This piece has been quilted with different kind of threads, we all can relate on how many yummy threads are on the market and...ahem...how many we have collected. I used 12 weight Aurifil around the bird, 40 weight for the flowers and 30 weight for the lower part.
This piece was hung beside a window where the sun was shining to show off the texture that complements this quilting design.
I am linked to http://ninamariesayre.blogspot.com/ Off the Wall Fridays.